Etching the ALU

One would expect that at a major university with many labs on campus, it would be easy to find a place where we could etch our boards. Unfortunately, this was not the case. Too much politics, bureacracy, concern about insurance, etc.....no place to do this. So I volunteered my home. The group came over and we etched in my garage. Please note that the garage door was open for ventilation and this was the middle of December (hence the heavy clothing for the experience). The process is as follows:

- the circuit is design with FreePCB software
- the design is printed on a waxy magazine page with a laser printer to create a mask
- the mask is ironed onto the copper boards
- the boards are submerged in an etching solution for about 20 minutes, then cleansed in water
- the boards are cleaned with acetone, drilled, and components are soldered in


See it here:

Clean the surface
      Chris scuffs up the surface of the copper board
      before mask transfer
the mask
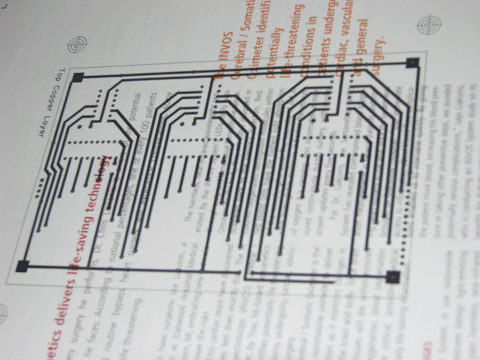
                  Mask printed on waxy magazine page.
etching
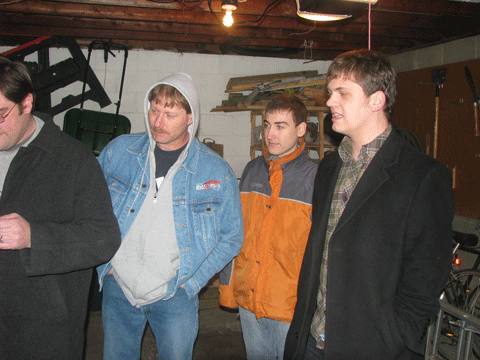
Don McMahon, Matt Ucinski, and Matt Gates keep a watchful
and warm eye on boards as they soak in solution.
etched!
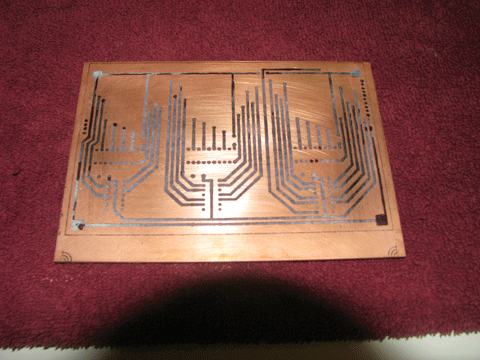
Copper board after 20 minutes in solution.
clean
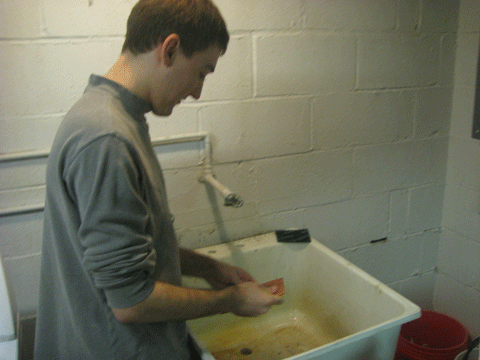
           Matt Ucinski cleans off a newly etched board
drill
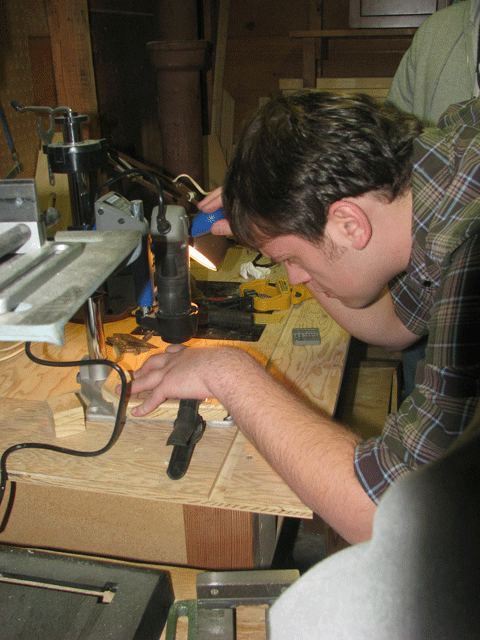
                      Drew inspects a drilled out board
solder
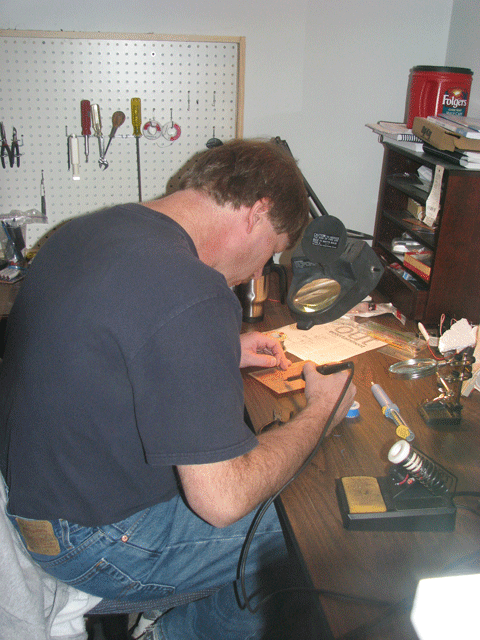
          Don McMahon solders the board.

drill
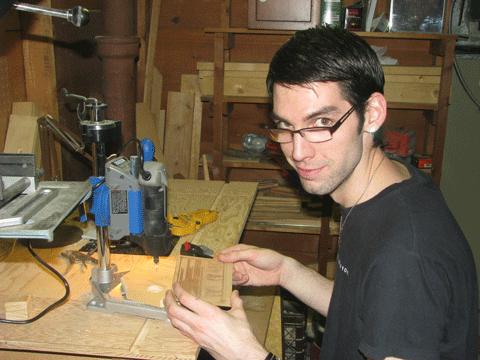
                 Matt Gates at the drill press
the finished product

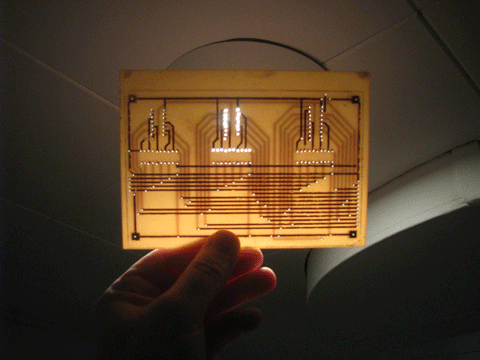
An (almost) finished board. Just needs components and solder !